The cymbal
stand is shipped usually in two parts (sometimes
in three parts): the base, middle, and top
sections.
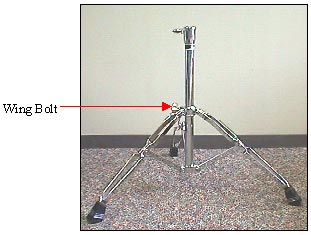
Extend the legs of the base to form a stable tripod
and tighten the wing bolt.
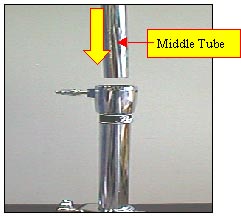
(If 3 parts) Insert the middle tube into the base and
secure.
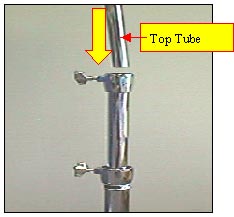
Insert the top tube into the middle tube and secure.
Set each tube about halfway up for now.
Attaching Cymbals
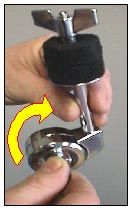
Set
the cymbal tilter vertically as shown above.
Remove the wing nut and the upper of the two felt washers
from the tilter post.
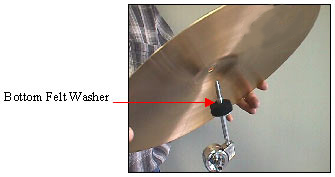
Slip
the tilter post through the hole in the bell of the
cymbal as shown and rest the cymbal on the bottom
felt washer.
Replace the felt washer and wing nut as shown. Allow
the cymbal to move freely for best sound. Adjust the
angle of the cymbal tilter to your preference.
Note: The tilter post is equipped with a plastic
sleeve to protect the cymbal from metal-to-metal contact.
Check the condition of the plastic sleeve occasionally
for signs of wear.
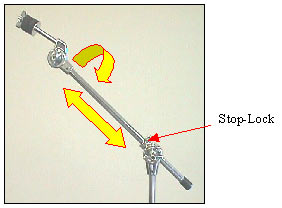
Boom Stand Assembly
1998
Export and Export Select sets include a boom cymbal
stand. Assemble the boom stand in the same manner
as the cymbal stand. The boom arm can be positioned
to virtually any angle for perfect cymbal placement.
The boom arm is equipped with a Stop-Lock to prevent
slippage and to allow quick and repeatable set-ups.